
Entering The Darkroom
Printing your Black and White images in a darkroom was once the main way that photographers crafted their work.
Today, instant gratification surrounds us in the world of photography. Nearly all of us carry a camera in our pockets. Film photography allows us to slow down. With limited frames, you need to carefully consider each shot and think critically before pressing the shutter, and when it comes to darkroom printing, it then challenges you to appreciate the complexity of an image and how it’s created.
As a photographer, I shoot both digital and film. Despite digital giving so much ease, I love the process of working with film and enjoy just how immersive it is, and I would do a lot more if it wasn’t so expensive. Darkroom printing is something that I’ve always wanted to explore. I’ve developed negatives in the past, but for nearly all of my film photography, I’ve relied on labs to develop and scan the work to my inbox.
Just outside of Ipswich is a Studio/Gallery/Darkroom space called Illuminate. I’d been introduced to this space by Mikaela, the owner, after meeting her recently in Woodbridge at an exhibition in The Artspace. I visited Illuminate when the first exhibition opened and was very impressed with the space. I loved the fact that Mikaela offered many workshops for creatives, and knew that I’d have to get on board with booking a negative printing workshop as soon as possible.
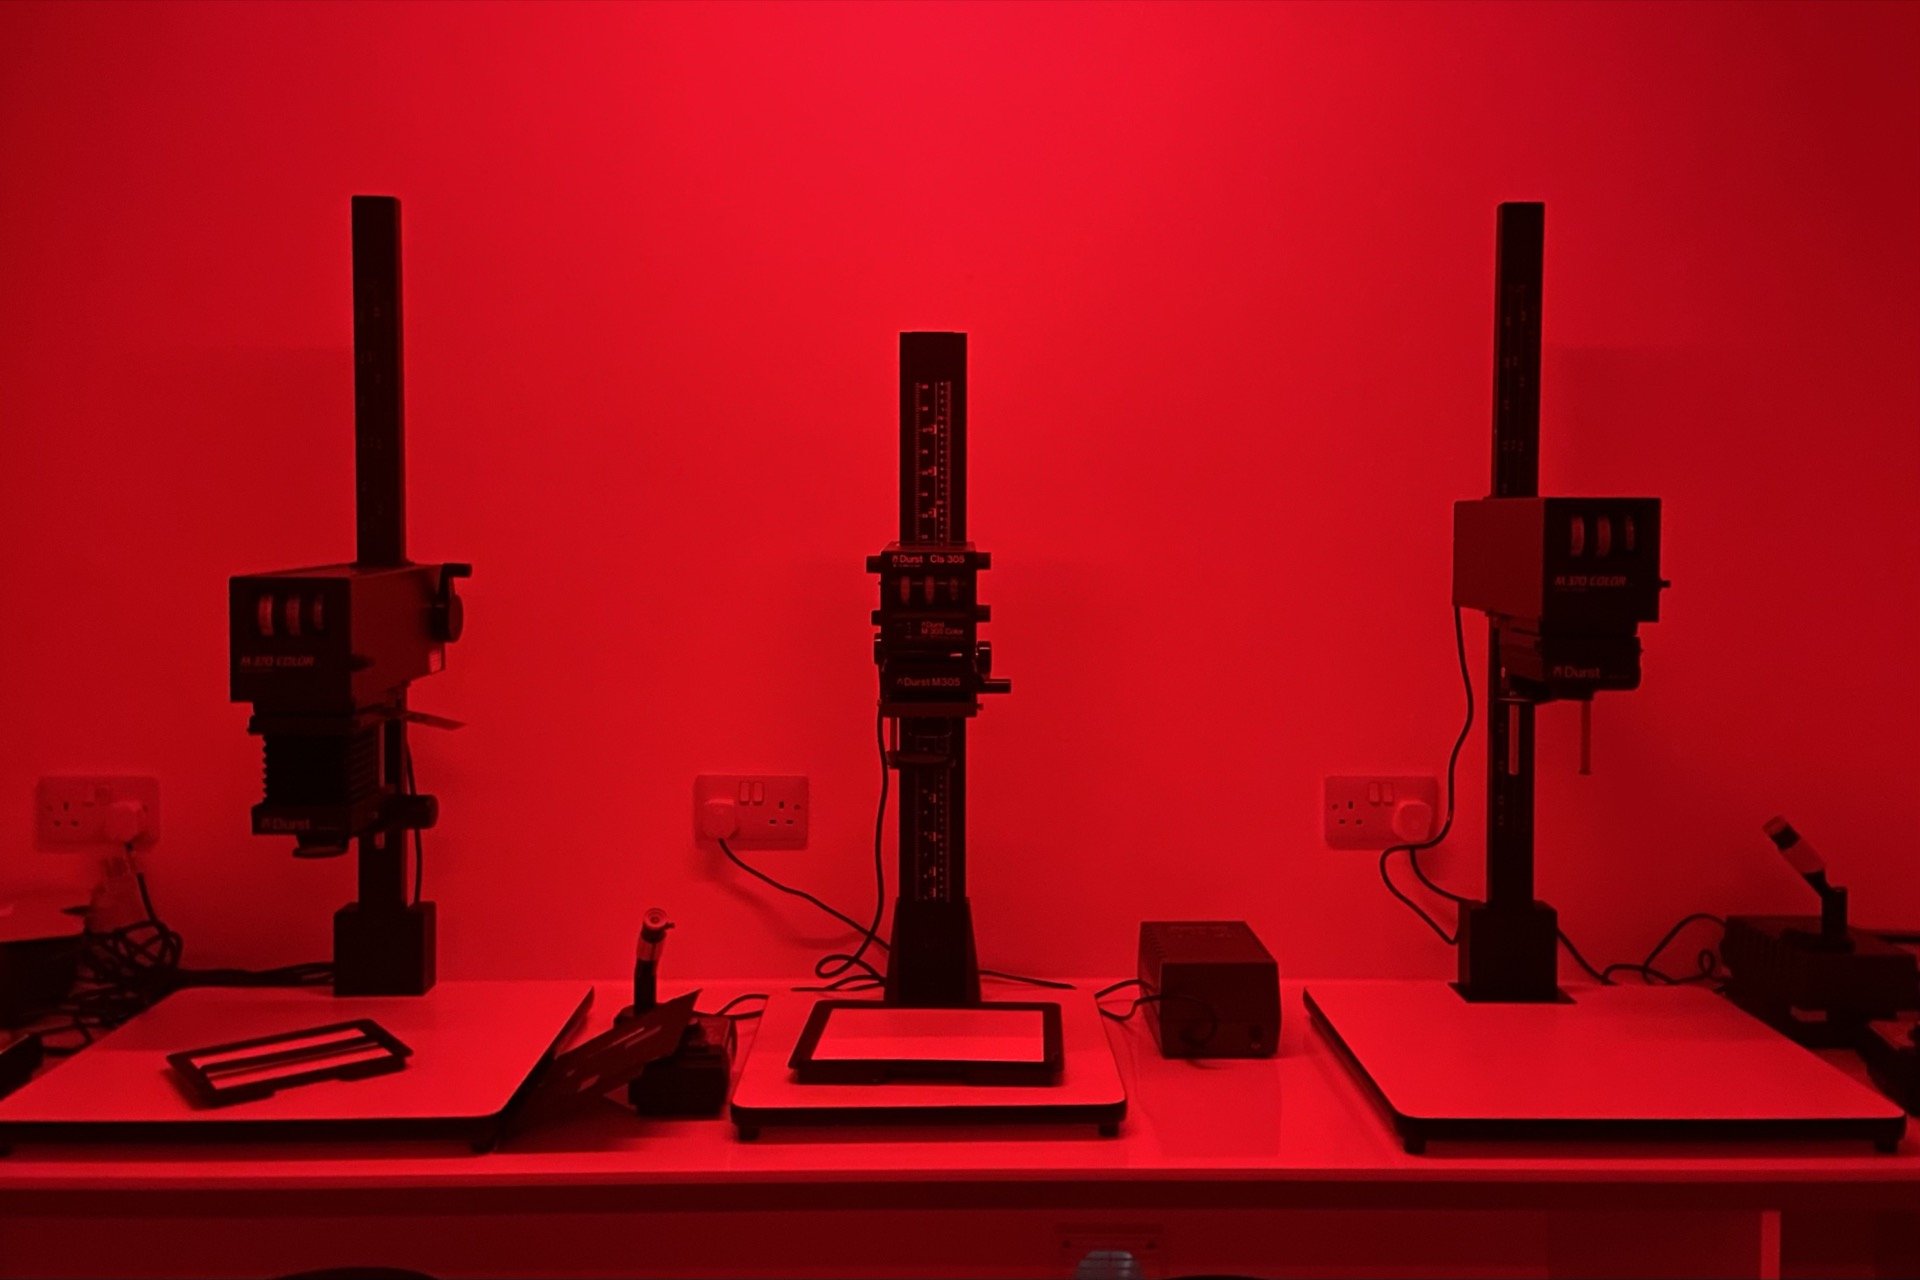
The darkroom at Illuminate is home to 3 enlargers, a film drying cabinet, worksurfaces, a considerable sized darkroom sink, along with an RC paper dryer. Mikaela gave me a good run-through of the process of using an enlarger and working with the developer, stop and fix before going to the final wash. As this was my first foray into the darkroom, I couldn’t fault Mikaela. The whole workshop as a one-to-one was completely relaxed and it was so good to be able to be in such a space to learn the process.


Working in a darkroom is a truly magical experience. Something that you can’t imitate when sitting in front of a monitor, moving sliders around in software.
The joy comes when you place your paper in the developing tray. As you rock the tray backwards and forwards, agitating the chemicals to cover the paper whilst keeping a close eye on the time, you can see your image start to appear through the light-sensitive paper. It was truly a magical moment and brought a big grin to my face the first time that I did it.


The process, initially, is pretty simple to grasp. However, there are endless things that you can consider afterwards, such as grading, dodging and burning, lith printing, and so on.
If you don’t have access to darkroom equipment or are unable to make it work within your means, then definitely consider visiting a local art college or somewhere like Illuminate where you can learn the process and hire it to your heart’s content. Don’t expect perfection early on, but you will walk away satisfied with the results, and I promise that you won’t regret it!
I’m keen to now order some more black and white film and get back to the darkroom as soon as I can.
A massive thanks to Mikaela at Illuminate for a great morning! You can see a quick clip of me in action below from Instagram.